3D Modelling
The Challenge
Can’t get a replacement part from OEMs? Something broken and appears unrepairable? Look at the following remedies to challenge your solution. Most items are 95% repairable.
- Broken Sliding Door Handles from a Dodge Grand Caravan
- Broken Door Leaver in a Dodge Grand Caravan
- Broken Chain Saw Cover
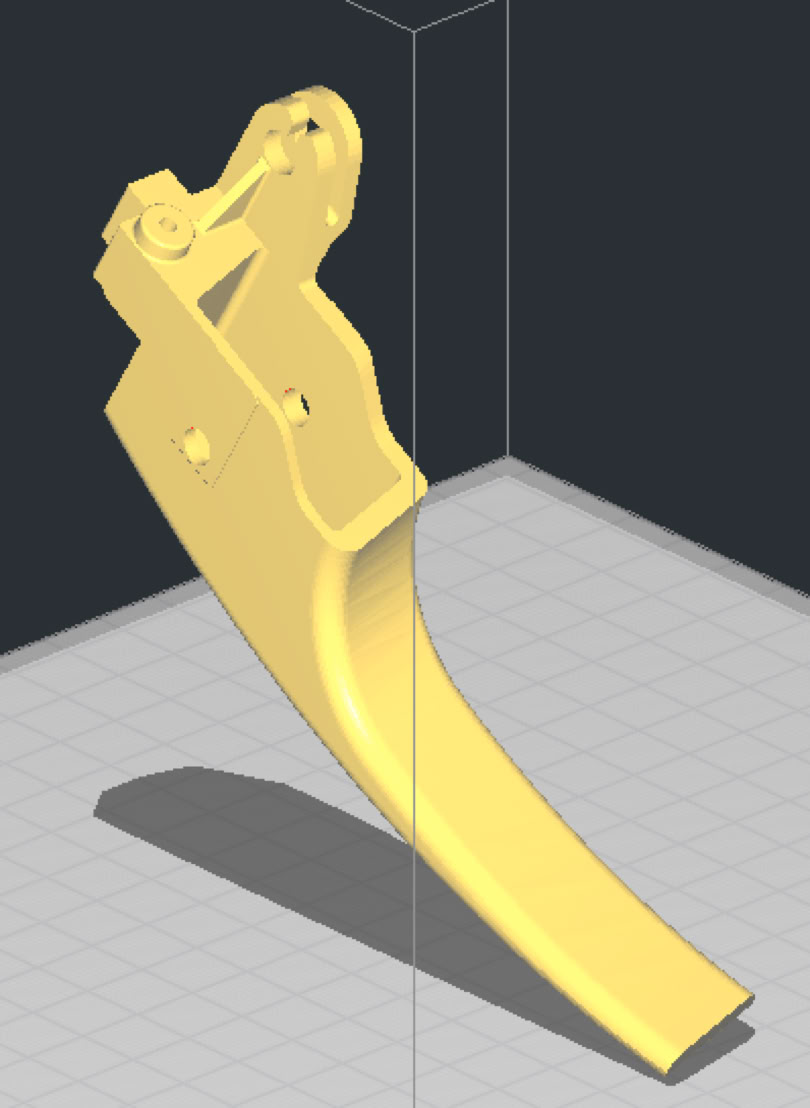
- Broken Mitre Saw Handle
Broken Door Handles on a Dodge Grand Caravan
To perform the fix, you must remove the inside panel of the sliding door. You begin by removing the 2 Torx screws near the inside handle and remove this small cover. This will expose the harness frame connector to the door window and lock controls: disconnect it. On the top of the inside panel near the rear of the window, there is a small black plastic cover: to remove it, you must unclip it at the top and slide it out towards the front. The inside panel is hooked at the top - the bottom of the panel is popped into place with tabs. To remove the panel, slide a flat head screw driver between the panel and the metal frame at the bottom of the door and separate them until they pop out - there are approximately 10 of these. Once the panel clips are popped out at the bottom, you can slide the entire panel up to remove it from the hanging position. You must remove the inside door handle to continue: it is secured with 3 hex bolts and 2 Torx screws. Pull the inside handle out to make room for the next steps - it will still be connected to the door assembly from a couple of metal rods. There will be a 6-inch rubber panel that you need to open, this will gain entry to the backside of the door handle opening.
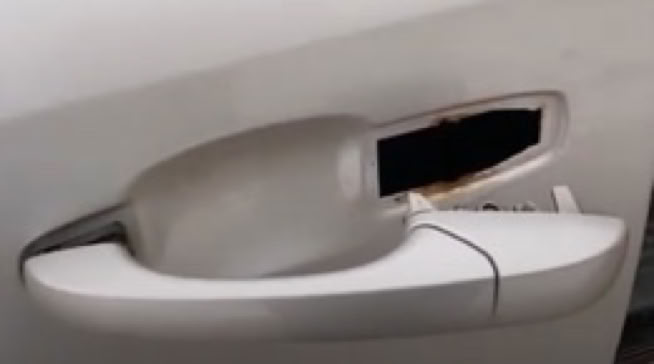
The problem here is the door handle from the sliding door panel pops right out of its socket. On some 2010 to 2018 Dodge Grand Caravan models, the door handles are secured using a thin metal tab that is punched out from the door panel sheet during stamping. The elements will eventually corrode it and it will fail. A new door handle can no longer be secured back onto the sliding door at this point. For most people, the solution would be to purchase a complete new door assembly or replace the van entirely.
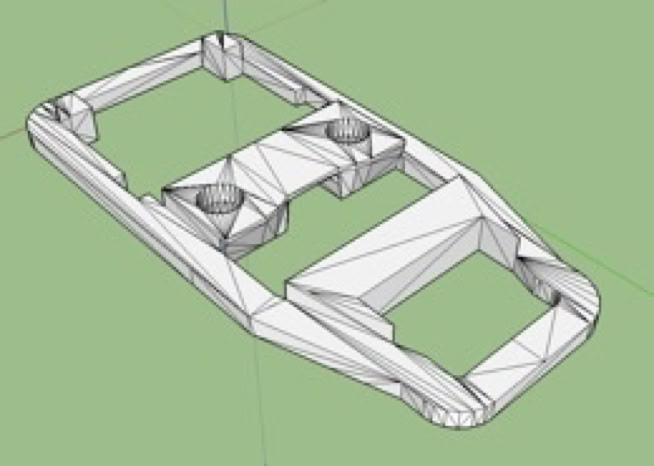
Our solution was to 3D print a backing plate that replaced the metal tab. Cost of materials here, provided you have a 3D printer at your disposal, is less than $0.50. If you have a similar problem, feel free to download the following STL file.
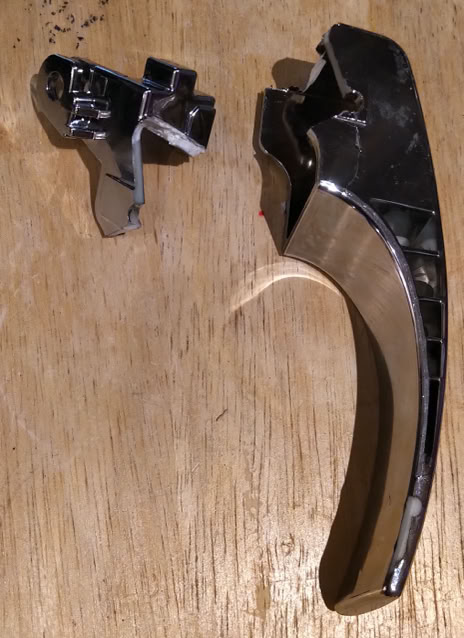
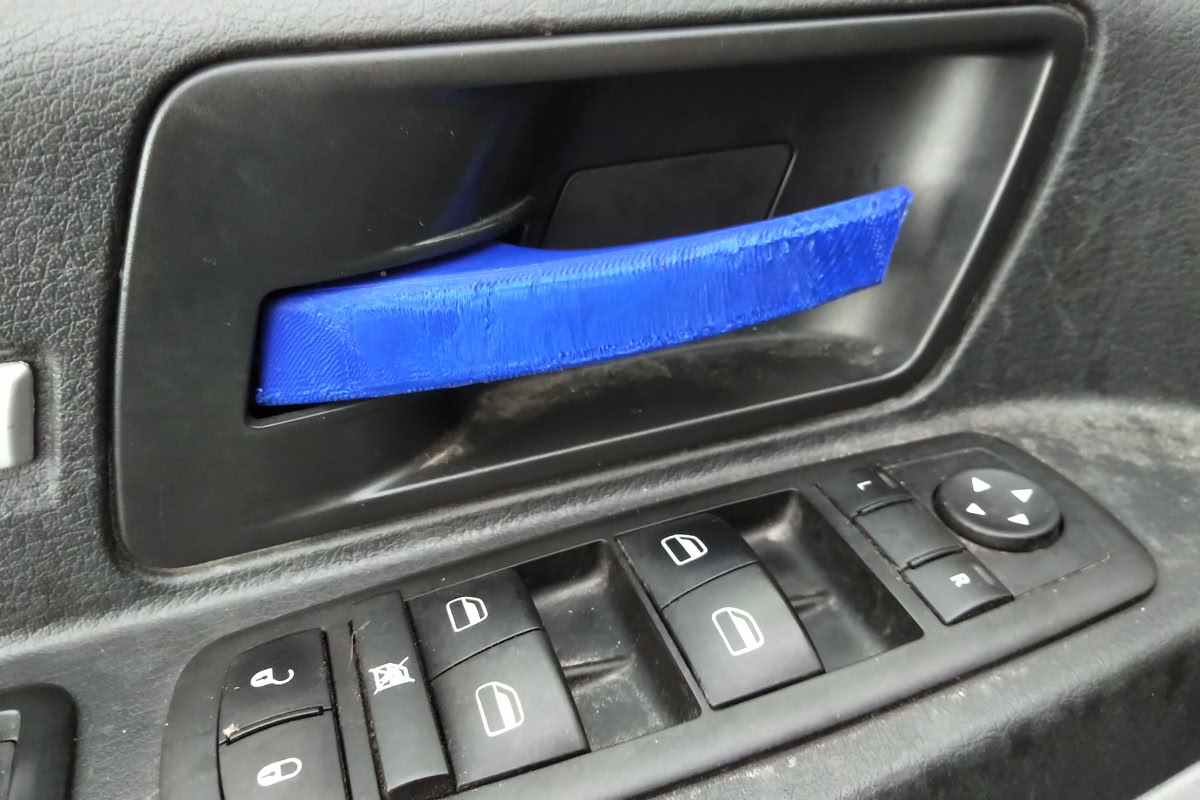
(1) If your DOOR HANDLE IS STILL GOOD, disconnect the pull cable from the handle and slide the 3D-Printed plastic insert from the back and pop it into the metal opening. Remove old screws (or bolts) that held the door handle onto the tab and place the door handle back onto the insert by pulling on the handle to open up the pull mechanism and allow it to slide into the insert. Secure the door handle to the new insert. Reconnect the pull cord, and test your handle. If all is good, replace the rubber panel and secure the inside handle using the 3 hex bolts and 2 Torx screws. Slide the inside panel into place from the top and pop the bottom tabs into there sockets, you may need to finesse them into place because they may not line up perfectly. Install the black cover near the rear of the window. Reconnect the harness frame connector. Install the inside door handle cover and secure with the 2 Torx screws. You are done.
(2) If your DOOR HANDLE IS BROKEN AND YOU HAVE A REPLACEMENT, disconnect the pull cable from the handle. The rear part of the handle is secured with a Phillips screw, to remove it, you will need to drill a 1” hole in the plastic door assembly. Remove the screw and the broken door handle from the door panel. Slide the rear of the new door handle into place and secure with the screw provided in the door handle kit. Slide the 3D-Printed plastic insert from the back and pop it into the metal opening. Place the new door handle onto the insert by pulling on the handle to open up the pull mechanism and allow it to slide into the insert. Secure the door handle to the new insert. Reconnect the pull cord, and test your handle. If all is good, replace the rubber panel and secure the inside handle using the 3 hex bolts and 2 Torx screws. Slide the inside panel into place from the top and pop the bottom tabs into there sockets, you may need to finesse them into place because they may not line up perfectly. Install the black cover near the rear of the window. Reconnect the harness frame connector. Install the inside door handle cover and secure with the 2 Torx screws. You are done.